docker 实践:如何构建自己的镜像
文章目录
创建自己的项目
我们用简单的 node.js web项目输出 helloworld 为例.
项目目录:
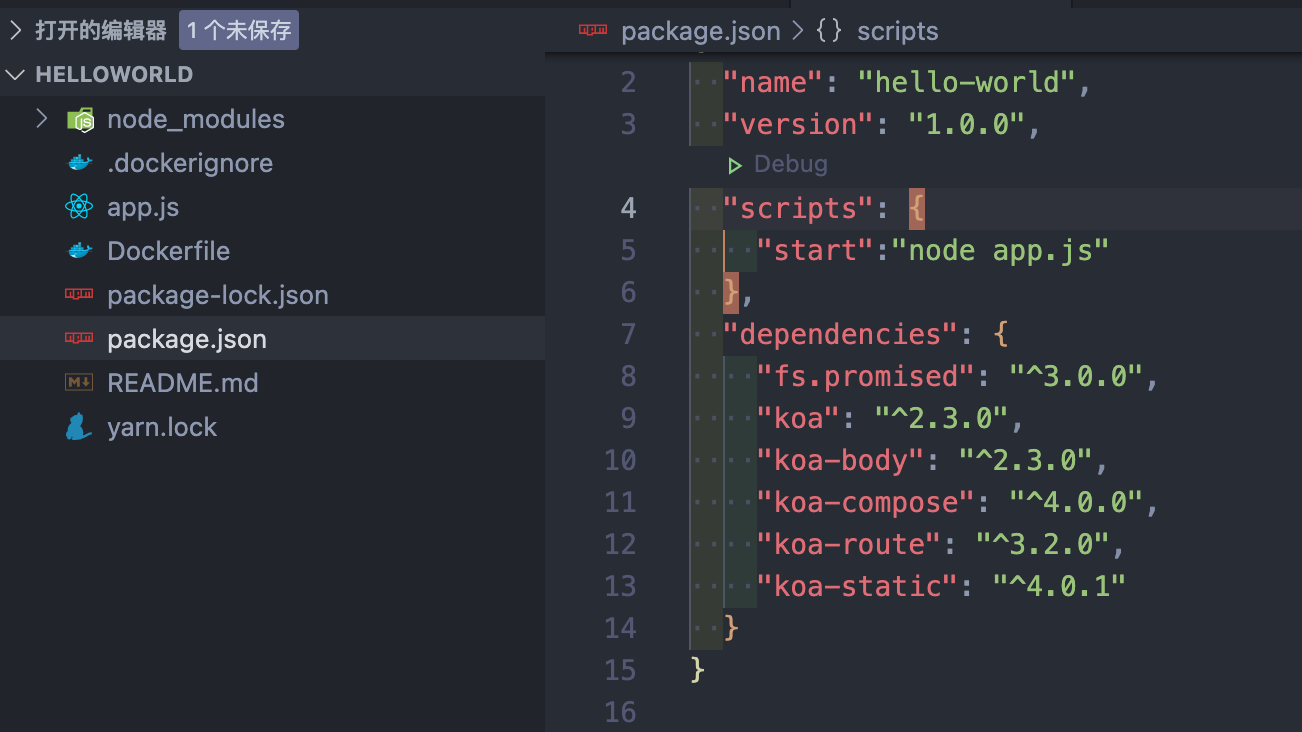
npm start app.js 启动项目;
app.js 代码
const Koa = require('koa');
const app = new Koa();

const main = ctx => {
  ctx.response.body = 'Hello World';
};

app.use(main);
app.listen(3000);
编写dockerfile
FROM node:8.4
COPY . /app
WORKDIR /app
RUN ["npm", "install"]
CMD [ "npm", "start" ]
EXPOSE 3000/tcp
FROM node:8.4 从docker镜像仓库拉取官方 node 镜像
COPY ./app 把项目从宿主机拷贝到容器 ./app 目录内
WORKDIR /app 指定程序这容器内的工作目录
RUN ["npm", "install"] 在容器中安装node依赖包
CMD [ "npm", "start" ] 在容器中运行指定命令
EXPOSE 3000/tcp 通知 Docker 该容器在运行时监听的端口 3000
忽略不需要的内容
创建 .dockerignore 文件
声明拷贝项目时,容器忽略的内容
.git
node_modules
npm-debug.log
构建镜像
docker build --tag helloworld:1.0 .
指定镜像名称 helloworld
指定镜像版本 1.0
命令最后的 . 不要丢掉;
.实际上是在指定上下文的目录, docker build 命令会将该目录下的内容打包交给 Docker 引擎以帮助构建镜像.
结果:
+] Building 52.1s (9/9) FINISHED
 => [internal] load build definition from Dockerfile                                        0.1s
 => => transferring dockerfile: 212B                                                             0.0s
 => [internal] load .dockerignore                                                                   0.1s
 => => transferring context: 71B                                                                   0.0s
 => [internal] load metadata for docker.io/library/node:8.4                           14.6s
 => [internal] load build context                                                                     0.0s
 => => transferring context: 27.43kB                                                            0.0s
 => CACHED [1/4] FROM docker.io/library/node:8.4@sha256:080488acfe59bae32331ce28373b752  0.0s
 => [2/4] COPY . /app                                                                                    0.1s
 => [3/4] WORKDIR /app                                                                               0.1s
 => [4/4] RUN ["npm", "install"]                                                                     36.5s
 => exporting to image                                                                                  0.4s
 => => exporting layers                                                                                  0.3s
 => => writing image sha256:9ad8d21f44f52b2244e8a1faf732d9901987c0ee7b7005041747b65e026  0.0s
 => => naming to docker.io/library/helloworld:1.0                                        0.0s
从镜像构建容器
# zhangzhi @ ZhangZhi-MacBook-Pro in ~/code/study/HelloWorld [23:24:45]
$ docker run --publish 3000:3000 --detach --name helloworld helloworld:1.0
-- publish 3000:3000  将主机3000端口绑定到容器3000端口
-- name    helloworld   给容器指定一个别名
-- detach   在后台运行容器并打印出容器ID
输出结果:
# zhangzhi @ ZhangZhi-MacBook-Pro in ~/code/study/HelloWorld [23:24:45]
$ docker run --publish 3000:3000 --detach --name helloworld helloworld:1.0
bf1856c96b68d0a87adbdf94767e8901bc8129dbd60227dc5973e01403797d15
运行成功并且打印出了容器ID
查看容器是否运行成功
我们宿主机上的3000 端口绑定了 容器的 3000端口,
而容器上运行的 helloword 程序监听 3000端口,
所以我们这宿主机浏览器看下本机 3000端口是否有服务.
localhost:3000
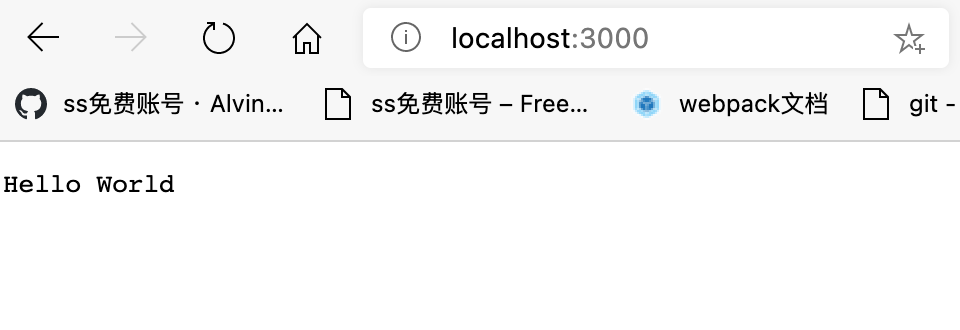
没有问题,确实打印出来 helloworld;
然后我们看下当前运行的 容器;

当前运行2个容器实例,一个是mongodb服务,一个是刚才我们构建的helloworld镜像实例.
大家可以确认上面的 CONTAINER ID ,确实是我们运行起来的实例.